Korea · Main · Easy
Kimchi fried rice
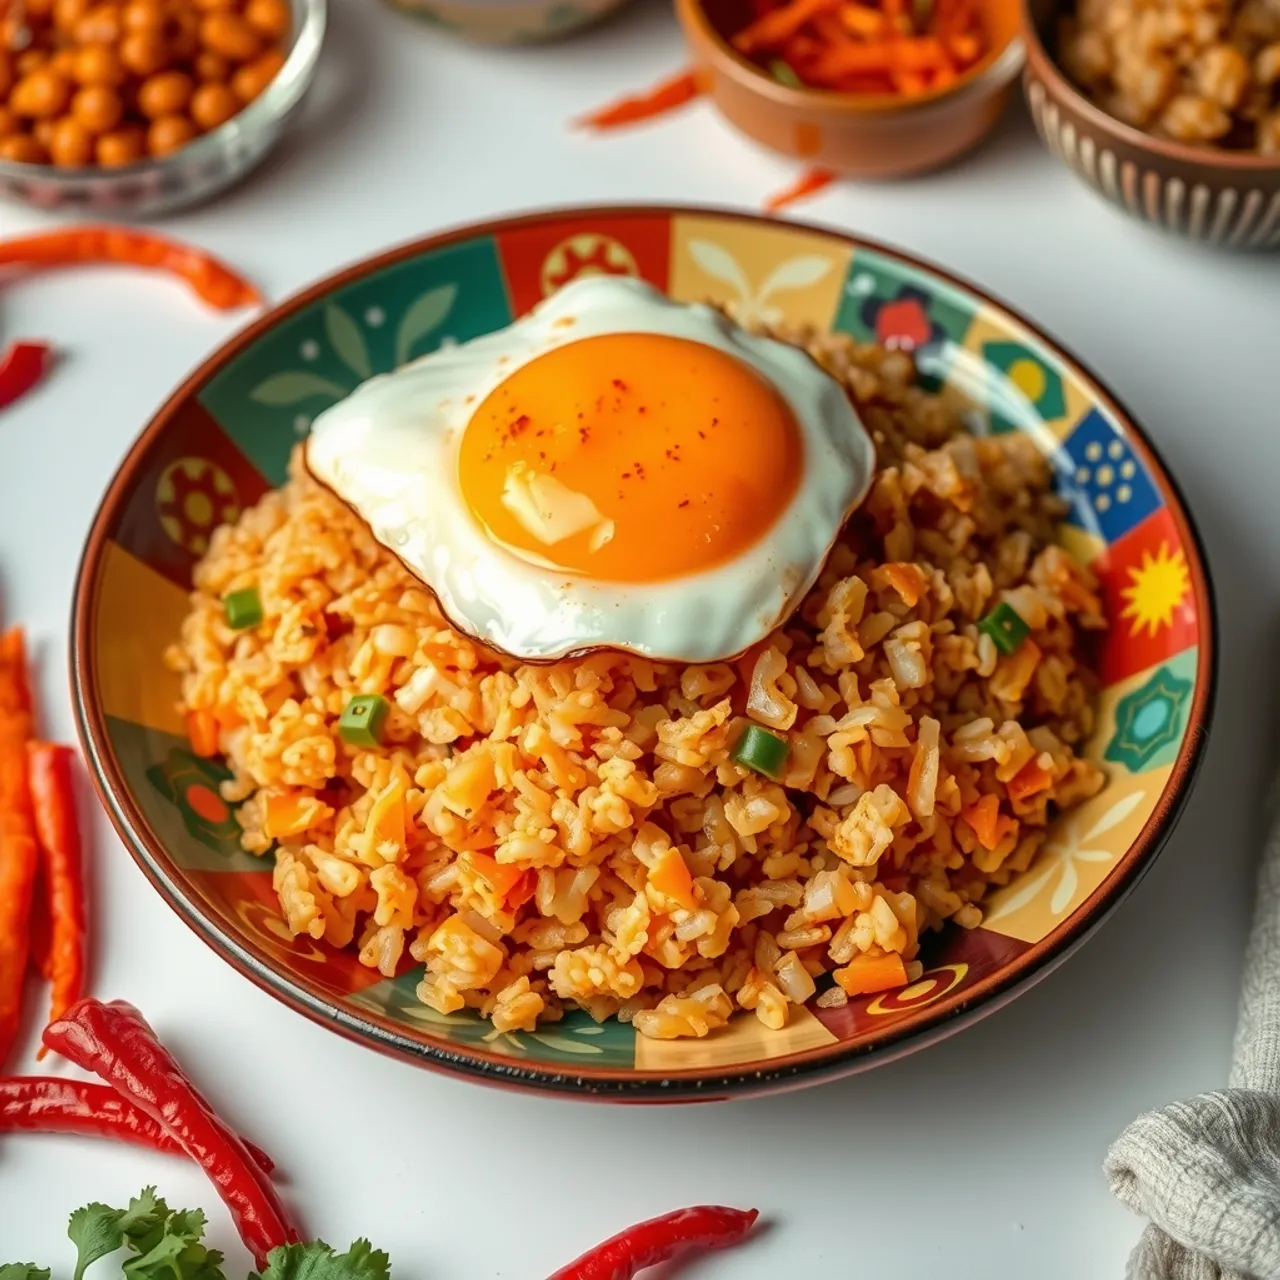
Kimchi bokkeumbap: sour, spicy fried rice with a runny fried egg
Day-old rice stir-fried with well-fermented kimchi, pork belly, gochujang and sesame oil, topped with a crisp-edged fried egg. Frying the kimchi in the rendered pork fat before the rice goes in caramelises it and takes the raw sourness off.
- Energy
- 740 kcalper serving
- Prep
- 10 min
- Cook
- 15 min
- Protein
- 18 g
How was it?
Equipment
- Large frying pan or wok (28 cm), ideally non-stick or well seasoned
- Small non-stick frying pan for the eggs
- Wooden spatula
- Kitchen scissors for the kimchi and gim
Before you start
- Break up the cold rice with your fingers so there are no clumps.
- Chop the kimchi into 1 cm pieces with scissors and keep its juice.
- Cut the pork belly into 1 cm pieces and dice the onion.
- Slice the spring onions and cut the gim into strips.
Method
-
Render the pork
80 g pork bellyPut the pork belly in the cold large pan and set it over medium heat. Cook for 4–5 minutes, stirring now and then, until the fat has melted out and the pieces are browned.
Done when The pork is golden at the edges and sits in a thin layer of clear, sizzling fat.
-
Fry the kimchi
80 g onion200 g napa cabbage kimchiAdd the onion and kimchi, raise the heat to medium-high and stir-fry for 3–4 minutes.
Done when The kimchi turns darker and slightly translucent, the edges catch a little, and the sharp sour smell turns sweeter.
Tip Sour, old kimchi works best here. Fresh kimchi tastes flat when cooked, so add a little more kimchi juice.
-
Add the seasoning
1 tbsp gochujang1 tsp gochugaru1 tsp sugar3 tbsp kimchi juice1 tsp soy sauceStir in the gochujang, gochugaru, sugar, kimchi juice and soy sauce and cook for 1 minute over medium heat.
Done when The mixture is glossy brick-red and the gochujang no longer smells raw.
-
Fry the rice
400 g cooked short-grain riceAdd the rice, raise the heat to high and press and fold it into the kimchi for 3–4 minutes, until every grain is coloured.
Done when The rice is evenly orange-red with no white patches, and the grains are separate, not mushy.
Tip Freshly cooked rice turns gluey. If you only have fresh rice, spread it on a tray and chill it uncovered for 30 minutes first.
-
Crisp the bottom
Press the rice flat with the spatula and leave it untouched over medium-high heat for 2 minutes, then fold it once.
Done when You hear a steady crackle and the underside comes up in browned, crunchy patches.
-
Finish with sesame oil
1 tbsp toasted sesame oil2 spring onionsTake the pan off the heat, drizzle over the sesame oil, add most of the spring onions and toss. Taste and add a little more kimchi juice if it needs salt or sourness.
Done when The rice smells nutty and toasty and looks shiny.
Tip Sesame oil goes in off the heat: high heat burns its aroma.
-
Fry the eggs
1 tbsp neutral oil2 eggsHeat the neutral oil in the small pan over medium-high heat. Crack in the eggs and fry for 2–3 minutes, spooning a little hot oil over the whites.
Done when The edges are brown and lacy, the whites are fully set, and the yolks still wobble.
-
Plate and top
2 eggs1 tsp toasted sesame seeds1 gim (roasted seaweed sheet)Divide the rice between two bowls and set a fried egg on each. Scatter over the remaining spring onions, sesame seeds and gim.
Done when The yolk runs into the rice as soon as you break it.
Common mistakes
The rice is mushy and clumps together.
Fix The rice was freshly cooked and still moist. Use rice cooked the day before, or chill freshly cooked rice uncovered on a tray first.
It tastes flat and only spicy.
Fix The kimchi was too young or not fried long enough. Fry it until it caramelises, and season at the end with kimchi juice rather than more salt.
The rice sticks and burns before it is hot.
Fix The pan was too small or not hot enough when the rice went in. Use a wide pan, cook no more than two servings at a time, and keep the heat high.
The egg yolk is hard.
Fix It cooked too long. Take the eggs off the heat as soon as the whites are set; the yolk keeps cooking on the hot rice.
Serving
Serve straight from the pan while the crisp bits are still crunchy, with the egg on top. A small bowl of cold kimchi or pickled radish on the side is traditional.
Storage and reheating
Cool quickly and refrigerate within 1 hour. Keeps 1 day in the fridge, without the egg. Reheat in a hot pan, stirring, until steaming throughout; fry a fresh egg.
Make ahead
Cook the rice the day before and chill it. Chop the kimchi, onion and pork up to 1 day ahead and keep them covered in the fridge.
Variations
With tuna
Leave out the pork belly, fry the kimchi in 1 tablespoon of neutral oil and stir in a drained 140 g can of tuna with the rice.
With cheese
Scatter 60 g of grated mozzarella over the rice at the end, cover for 1 minute until melted, then top with the egg.
Vegetarian
Use vegan kimchi made without fish sauce or shrimp, replace the pork with 150 g of diced firm tofu browned in 2 tablespoons of oil, and keep the fried egg.